How to Grow Microgreens at Home: Fewer Rinses, and Which Seeds to Pick to Start
The jar forgotten on Friday evening that smells like a cellar on Monday morning: if that sounds familiar, microgreens settle the rinsing question, since you only water the growing medium from below. Even once you know how to grow microgreens at home, you will still keep a daily eye on moisture. At Biovie, we rely here on a US university fact sheet and on the opinions of EFSA and ANSES.
Who has never skipped a rinse because a train left too early? I have been sprouting seeds for more than thirty years, I founded Biovie in 2007 and I am an ISTOM engineer: the question deserves an honest answer, and here it is.
Sprouts, microgreens, automatic sprouter: what is the difference?
A sprout spends its short life in the humidity of a jar or a sprouter, and you eat it whole. A microgreen, on the other hand, roots in a medium (potting soil, a mat or ceramic granules), grows in the light, and you only cut its stems and first leaves (Bachman, 2025). Researchers describe it as an immature young plant of a vegetable, herb or cereal (Kyriacou et al., 2016): in other words, a baby vegetable harvested before it has had time to grow up.
The jar soaks, the tray drinks.
As for the automatic sprouter, it stays on the sprout side: it waters for you, without changing what you eat. We have already devoted two full articles to choosing a sprouter and to growing sprouts at home.
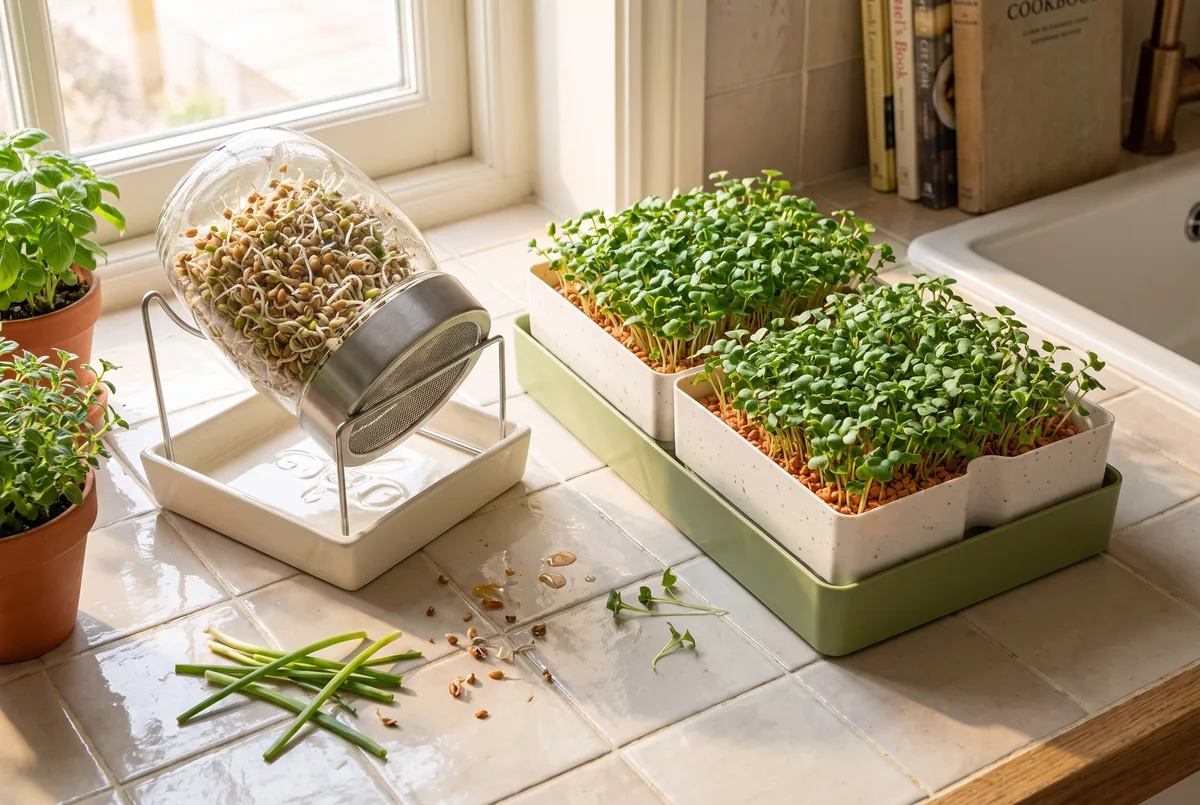
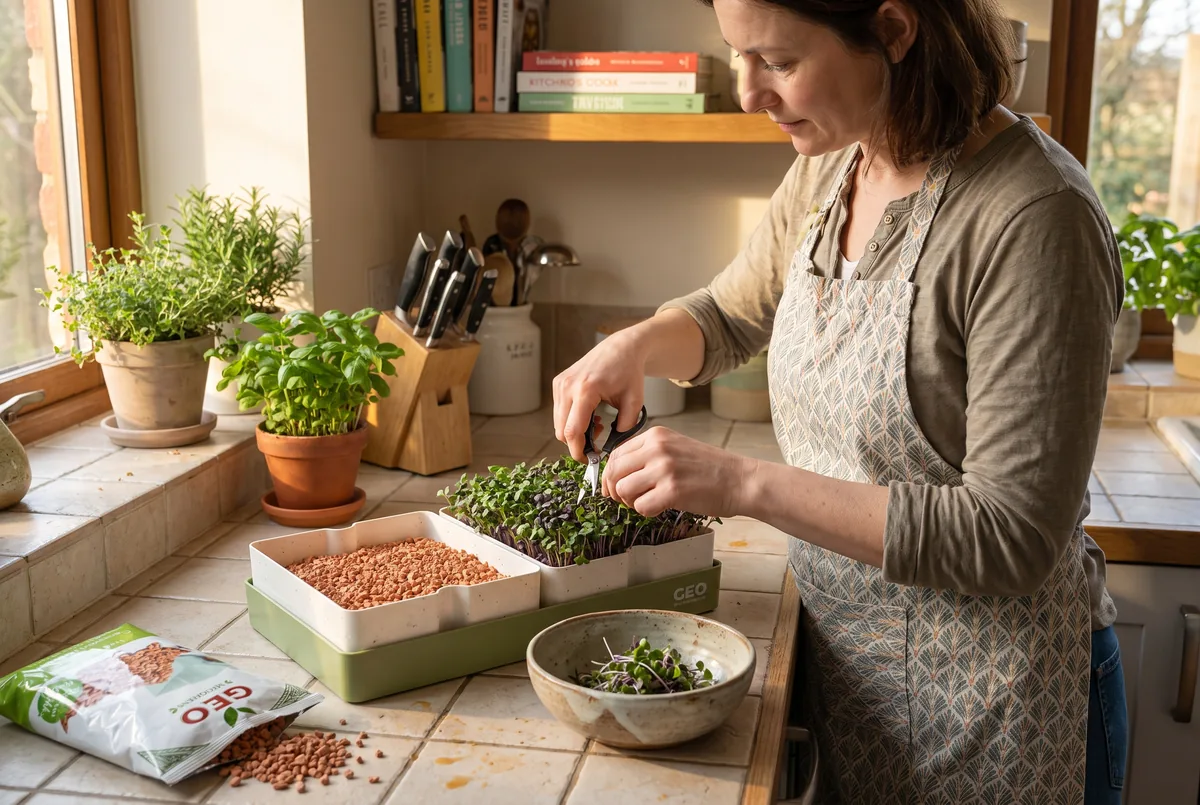
One question I often get: do you really need potting soil in your kitchen? No. Our GEO Smart Greens microgreens grower, made by Geo Bavicchi, is built from a green tray that holds the water and two perforated white trays, which you fill with ceramic granules. These granules are fired clay and nothing else: they hold water like a porous stone, and a simple rinse lets you reuse them, up to five times according to the manufacturer. If you wonder how to grow microgreens at home without soil, this is one answer: no peat, no coir, no bag of potting soil on the counter.
Microgreens vs sprouts: the table below puts the methods side by side.
Method
What you eat
Medium
Light
Daily upkeep
Time
Sprouts in a jar
The whole sprouted seed
None
Not needed
Regular rinsing
A few days
Automatic sprouter
The whole sprouted seed
Sprouter trays
Not needed
Fill the reservoir, keep an eye on it
A few days
Microgreens on a tray
Stems and first leaves
Potting soil or hydroponic mat
Window or lamp
Bottom watering, moisture check
7 to 25 days depending on the species
GEO Smart Greens microgreens grower
Stems and first leaves
Reusable ceramic granules
Window or lamp
Fill the green tray, tilt the white trays
6 to 14 days depending on the species
Why do microgreens need less attention than sprouts?
In a jar, the water only passes through: you pour it in, you pour it out, and it is this repeated back and forth that keeps the seeds fresh. Forget it for a weekend, and everything tips over. On a microgreens tray, it is the medium that keeps the water in reserve, a bit like a sponge.
You water from below, which suits a windowsill well: the water poured into a tray under the growing tray rises to the roots by capillary action (Bachman, 2025), a bit like coffee climbing into a sugar cube you dip in it.
On a hydroponic mat, the same fact sheet asks you to check moisture every day, without overwatering, and for beginners it recommends potting soil instead. Makes sense: when you start, you want a medium that forgives mistakes. The ceramic granules of our grower play the same role as potting soil, only cleaner: they rehydrate from below, they rinse clean between two crops and they leave no soil on the counter.
The GEO Smart Greens adds a gesture I find clever. The white trays turn a quarter turn and go from the low position, where the granules meet the water of the green tray, to the high position, where they stay damp but aired. So you never pour water over the shoots, which get crushed and moldy when watered from above. And since there are two trays, you sow one, then the other a few days later: the harvest never stops.
And the weekend, then? No worries, your seeds will easily spend 2 to 3 days on their own, no need for a baby sitter! What we can say, though, is that a tray well moistened before you leave for the weekend forgives an oversight better than an unrinsed jar.
I know something about this, and I am no more exemplary than anyone else. On a tour of our suppliers, from Barcelona to Malaga, I used to hang my sprouting bags in hotel showers. Once, we left them behind at the hotel. There you go, so much for the lecturer.
For sprouts without rinsing every day, the microgreens tray is the most honest answer I know (apart from the Easygreen, of course), if you accept green shoots rather than sprouts.
Which seeds to choose to start with microgreens?
These timings come from the Mississippi university extension fact sheet (Bachman, 2025) and from the cycles announced by Geo Bavicchi, the Italian family house founded in 1896 that selects our seeds. Take them for what they are: benchmarks, not a countdown. They vary with temperature and light: your windowsill will therefore have its say.
The fastest, 6 to 10 days: radish, pea, kohlrabi and mizuna
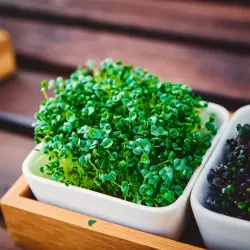
For a first tray, I recommend radish seeds: they come up fast, and their little heart-shaped leaves sting just enough. That is the simple answer to how to grow radish microgreens at home. The green pea, for its part, gives tender stems that taste of fresh peas.
In our dedicated microgreens range, four varieties keep the same pace, 6 to 10 days according to Bavicchi: purple kohlrabi, green mizuna, red mizuna and tatsoi. They are all Brassicaceae, the cabbage family, and it is the fastest one. Tatsoi, mild and without bitterness, is the one I would put in the hands of someone wary of spice.
Six to ten days is barely more than a week: sown on a Sunday, a tray of mizuna can be cut the following Sunday.
The in-betweens, 10 to 15 days
Mustard, red cabbage, arugula and kale need a few more days (Bachman, 2025). Mustard has that bite that wakes up a salad, and red cabbage colors the plate with its purplish stems.Arugula, finally, already has its little peppery taste, as if it had not wanted to wait until it was grown. Same pace for dill, 10 to 14 days, whose fine shoots already smell like garden dill.
The slowest, for the color
Beet and Swiss chard take their time, but their red or golden stems are well worth the wait. Here, the two sources do not say the same thing: the university fact sheet gives 16 to 25 days, Bavicchi 10 to 14 days for its own varieties. I prefer to give you both rather than decide: count on about two weeks, and trust your shoots rather than the calendar.
And sunflower, you will say, the great classic of homemade young shoots? This fact sheet gives it no timing, so rather than invent one, I refer you to our article on sunflower shoots.
One last piece of advice, and not the least: choose fresh, good-quality seeds, which is what gives an even emergence (Bachman, 2025). I do not say this because we sell them, I say it because I have seen it up close. At our historic supplier, before accepting a silo, they lay 100 seeds on a tray and count them by hand three days later: above 95, the lot is taken. We went there. In other words, almost every seed has to wake up, otherwise no silo.
On the jar side, you will also find the list of seeds you can sprout, by category. These young shoots bring spice and color to your plates, as part of a varied and balanced diet and a healthy lifestyle.
Here is how to grow microgreens in five steps, the same with our grower as with a clean tray from your kitchen filled with a bit of potting soil. Allow a few minutes to sow, then a quick look every day.
Fill the medium: ceramic granules in the white trays of the grower, or potting soil if you are rigging up your own tray.
Moisten the medium all the way through before sowing, then sow dense, much closer than in a vegetable garden: about 8 to 9 g of seeds per tray.
Water from below and never over the shoots: with the grower, it is the green tray that you fill.
Place the tray in front of a window, or under a lamp.
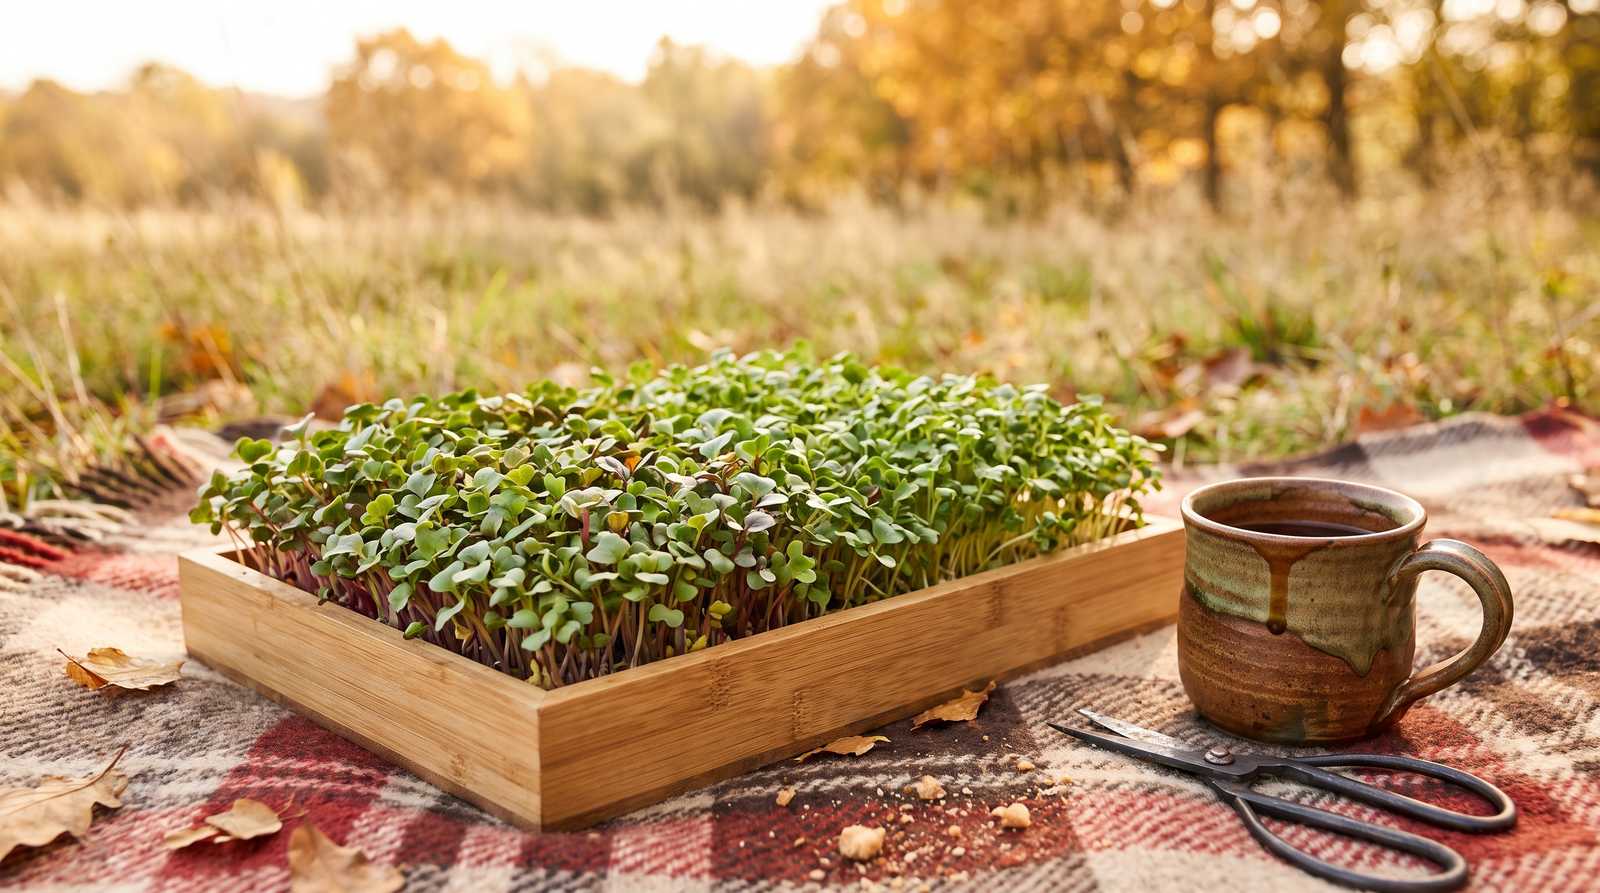
Harvest with scissors when the shoots reach 5 to 7 cm, cutting between 2.5 and 5 cm above the medium (Bachman, 2025).
Sowing dense always surprises you the first time: in the garden, you were taught to space things out, here it is the opposite, you try to cover the medium like a little carpet. And for the cut, between 2.5 and 5 cm is one or two finger joints: you leave the base, you take the green.
With the GEO Smart Greens, the routine comes down to two movements. The white trays stay in the low position while the granules drink, then a quarter turn lifts them out of the water for growth. Between two crops, you remove the roots, rinse the granules in clear water, and they are ready for another round.
One cut, one harvest.
The tray does not regrow: to have some continuously, sow a new one every few days (Bachman, 2025), and the habit takes root (pun intended).
Biovie offers 24 varieties of organic sprouting seeds, produced since 1896 by our Italian supplier Geo Bavicchi, and every batch is tested before it goes on sale (germination rate above 95% required). Radish, fenugreek, sunflower and alfalfa sprout the fastest and most easily for beginners, in 3 to 5 days on a windowsill. To discover several varieties without making a mistake, the packs (The 3 Radishes, The Essentials, The Pep's Seeds...) are a good starting point, before choosing your varieties individually. The range also covers microgreen seeds to grow on a substrate, and sprouters to get started without unnecessary equipment., 46
products
Let us start with EFSA: for sprouts, the most likely initial source of outbreaks is the dry seed, contaminated even before it reaches your jar (EFSA, 2011). Salmonella is the bacterium most often involved, STEC-type E. coli less often. In some outbreaks, 4 Salmonella per kilo of seeds were enough.
Four bacteria in a kilo of seeds is the absolute invisible. Picture stowaways asleep in the hold of a ship: when dry, they do not move, but the damp heat of germination wakes them up. And no step guarantees the elimination of a contamination present on the seed before germination, again according to EFSA.
In July 2011, in the middle of the E. coli outbreak, ANSES advised cooking sprouts (70 °C for 2 minutes) and not growing them yourself; these recommendations, tied to the episode, were to be reviewed once it was over (ANSES, 2011). Which is to say the shoot becomes a cooked vegetable. It was a crisis opinion, and a dated one.
For microgreens, food safety remains little studied, and their supply chain partly overlaps with that of sprouts (Riggio et al., 2019). The good habits, for their part, stay simple:
quality seeds, intended for this use;
a clean tray;
washed hands, of course, before sowing as before cutting;
and a rinse of the microgreens just before eating them (Bachman, 2025).
Harvesting, storing the shoots and the seeds
Once cut, microgreens go in a bag or a box in the refrigerator (Bachman, 2025). Temperature changes everything. A laboratory study carried out in Sri Lanka, on a single species (mustard) packed in plastic bags, measured acceptable quality for 14 days at 5 °C, 7 days at 15 °C, and only 1 to 2 days at 20 and 25 °C (Dayarathna et al., 2023).
Two weeks in the vegetable drawer, against a day or two in a heated kitchen. The simplest remains to cut just before the meal and add the raw shoots to your dishes, as part of a varied and balanced diet and a healthy lifestyle.
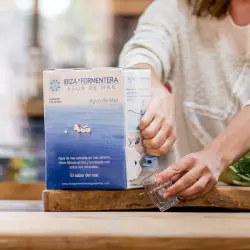
That leaves the question of dry seeds, between two sowings. For them, we recommend vacuum sealing with the BocUp kit: a bell and a small hand pump, with no electricity and no plastic bag, used with the glass jars you already have, as long as they have "shoulders" and a lid of 65 or 84 mm. Nothing else to buy: it is reuse, and that is exactly what I like about this little low-tech object.
Your seeds stay there, safe from humidity and moths. According to the manufacturer, fresh food even keeps up to 5 times longer: a vegetable soup lasts 8 to 10 days instead of 2. Still, the vacuum replaces neither the fridge nor the freezer, and it does not sterilize.
So, jar or tray? No need to choose. Once you know how to grow microgreens at home, nothing stops you from having both: the jar for its speed, the tray for busy weeks or time away.
I suggest a simple rhythm: a jar during the week, when you are there to rinse it, and a tray started before the weekend, which will wait for you patiently. After more than thirty years of practice, my conviction has not budged: we add rather than remove, and everyone goes at their own pace. To get started, we have described a 10-minute sprouting routine.
Sprouts and microgreens then complement each other on the plate, as part of a varied and balanced diet and a healthy lifestyle. A small radish tray sown this Thursday, and you may have your first harvest next week. And if you have a better trick than mine for weekends away, write to me!
Frequently asked questions
What are microgreens?
Microgreens are immature young plants of vegetables, herbs or cereals, sown very densely on potting soil, a mat or ceramic granules. You cut them above the medium 6 to 25 days after sowing depending on the species, and you eat their stems and first leaves.
What is the difference between microgreens and sprouts?
Sprouts and microgreens differ by their medium: the former grow in the humidity of a jar or a sprouter, are rinsed and eaten whole; the latter grow on potting soil, on a mat or on ceramic granules, in the light, are watered from below and are cut above the medium.
How often should you water microgreens?
Water microgreens from below and check moisture every day: the water poured into a tray placed under the growing tray rises to the roots. In a microgreens grower, it is the lower tray that you fill, and the growing trays tilt between soaking and the high position. On a hydroponic mat, this daily check matters even more, and you really must avoid overwatering.
How do you grow microgreens indoors?
To grow microgreens indoors, sow densely on potting soil or on ceramic granules in a microgreens grower, water from below and place the tray in front of a bright window or under a lamp. Then cut with scissors, between 2.5 and 5 cm above the medium.
Which seeds are the easiest to start with?
Radish, pea, purple kohlrabi, mizuna and tatsoi are the easiest to start with: they are harvested in 6 to 10 days. Next come mustard, red cabbage, arugula and dill, in 10 to 15 days, then beet and Swiss chard, which are slower.
How long do microgreens keep?
Microgreens keep in the refrigerator, in a bag or a box. In a laboratory study on mustard in plastic bags, quality remained acceptable for 14 days at 5 °C, 7 days at 15 °C, but only 1 to 2 days at 20 or 25 °C.
The information presented in this article is provided for informational purposes only and does not constitute medical advice. Consult a healthcare professional before making any change to your diet or supplementation.